Double Cream Scones
 |
| Double Cream Scones |
Recipe from 8 days (Makes 18 - 20 pieces using a 3 cm diameter round pastry cutter)
Ingredients:
For the scone dough:
- 1 egg
- 50ml double cream
- 180ml whole milk
- 1/2 tsp pure vanilla paste or extract
- 450g self-raising flour (plus extra for dusting)
- 1/2 tsp baking powder
- 50g caster sugar
- A large pinch of salt
- 110g cold unsalted butter (cut into 1/2 inch cubes)
For the glaze:
- 1 egg yolk plus 1 tbsp milk (for brushing)
Method:
1. Preheat oven to 180 degree C.
2. In a jug, beat egg, double cream, whole milk and vanilla paste with a fork till well-mixed. Set aside.
3. Sift flour, baking powder and salt in a large mixing bowl. Whisk in sugar.
4. Add cold butter cubes to the flour mixture, using fingers to toss the cubes in flour to coat. Quickly rub in butter with fingertips from a height to aerate the flour until it resembles rough dry breadcrumbs. A few pea-sized pieces are fine. Create a well in the middle of the flour mixture.
5. Pour egg and double cream mixture into the well. Stir gently with a fork till everything comes together to form a soft shaggy dough.
6. Using hands or a bench scraper, gather dough together and turn it onto a floured surface.
7. Using as little pressure as possible, gently fold dough in overlapping directions about 4-6 times, till the surface looks less craggy. Lightly pat dough into a circle.
8. Sprinkle a little more flour on the dough if it is too sticky. Then use fingers to pat it down or use a rolling pin to roll it to a thickness of about 2.5 cm.
9. Dip a round pastry cutter thoroughly in flour. Firmly stamp out as many scones as you can. Press the cutter straight down and lift it straight up. Do not twist the cutter. Twisting 'seals' the sides and prevents the scones from rising up tall and straight.
10. Gently gather remaining dough together. Re-roll lightly and cut out discs once more. Repeat until you run out of dough.
11. Transfer scones to a lined baking tray, leaving 2 inches of space between each piece. Brush the tops lightly with the egg and milk glaze.
12. Bake scones at 17 - 19 minutes in the middle rack of the oven until golden brown and well-risen. The bottoms should be lightly golden too. The scones are cooked through if they sound light and hollow
13. Allow scones to cool slightly. Serve warm with clotted cream and jam.
Tips for scone-making newbies:
1. Do not pour all the wet mix at once. Pour 3/4 of the required amount, use fork to bring the flour mixture together and add remaining wet mix, a little at a time, until a shaggy dough forms.
2. Do not over mix and over handle the dough. The less handling, the better.
3. When stamping out scones, refrain from twisting the pastry cutter. The twist 'seals' the sides and prevents further rising.
4. Sieve the egg wash for smoother-looking tops. I don't usually do, unless making for highly-critical people (aka my family members lol).
5. Be liberal with the salt. Scones benefit from the salt to bring out sweetness.
6. Do not lose hope if they don't turn out great in the first attempt. Scone-making is something that gets better with time. (I took 6 months!)
 |
| Shaggy dough coming together on a floured surface |
 |
| Stamping out scone discs |
 |
| Repeat until you run out of scone dough |
 |
| Cutting them thick so they turn out nice and tall after baking |
 |
| Brushing with egg wash for golden tops |
 |
| Sieved egg wash prevent them from looking patchy and uneven |
 |
| Tall and golden-looking tops! |
 |
| The crack line in the middle tells you they are done! Give them a light knock and they should sound light and hollow. |
 |
| Shiny tops, happy bellies! |
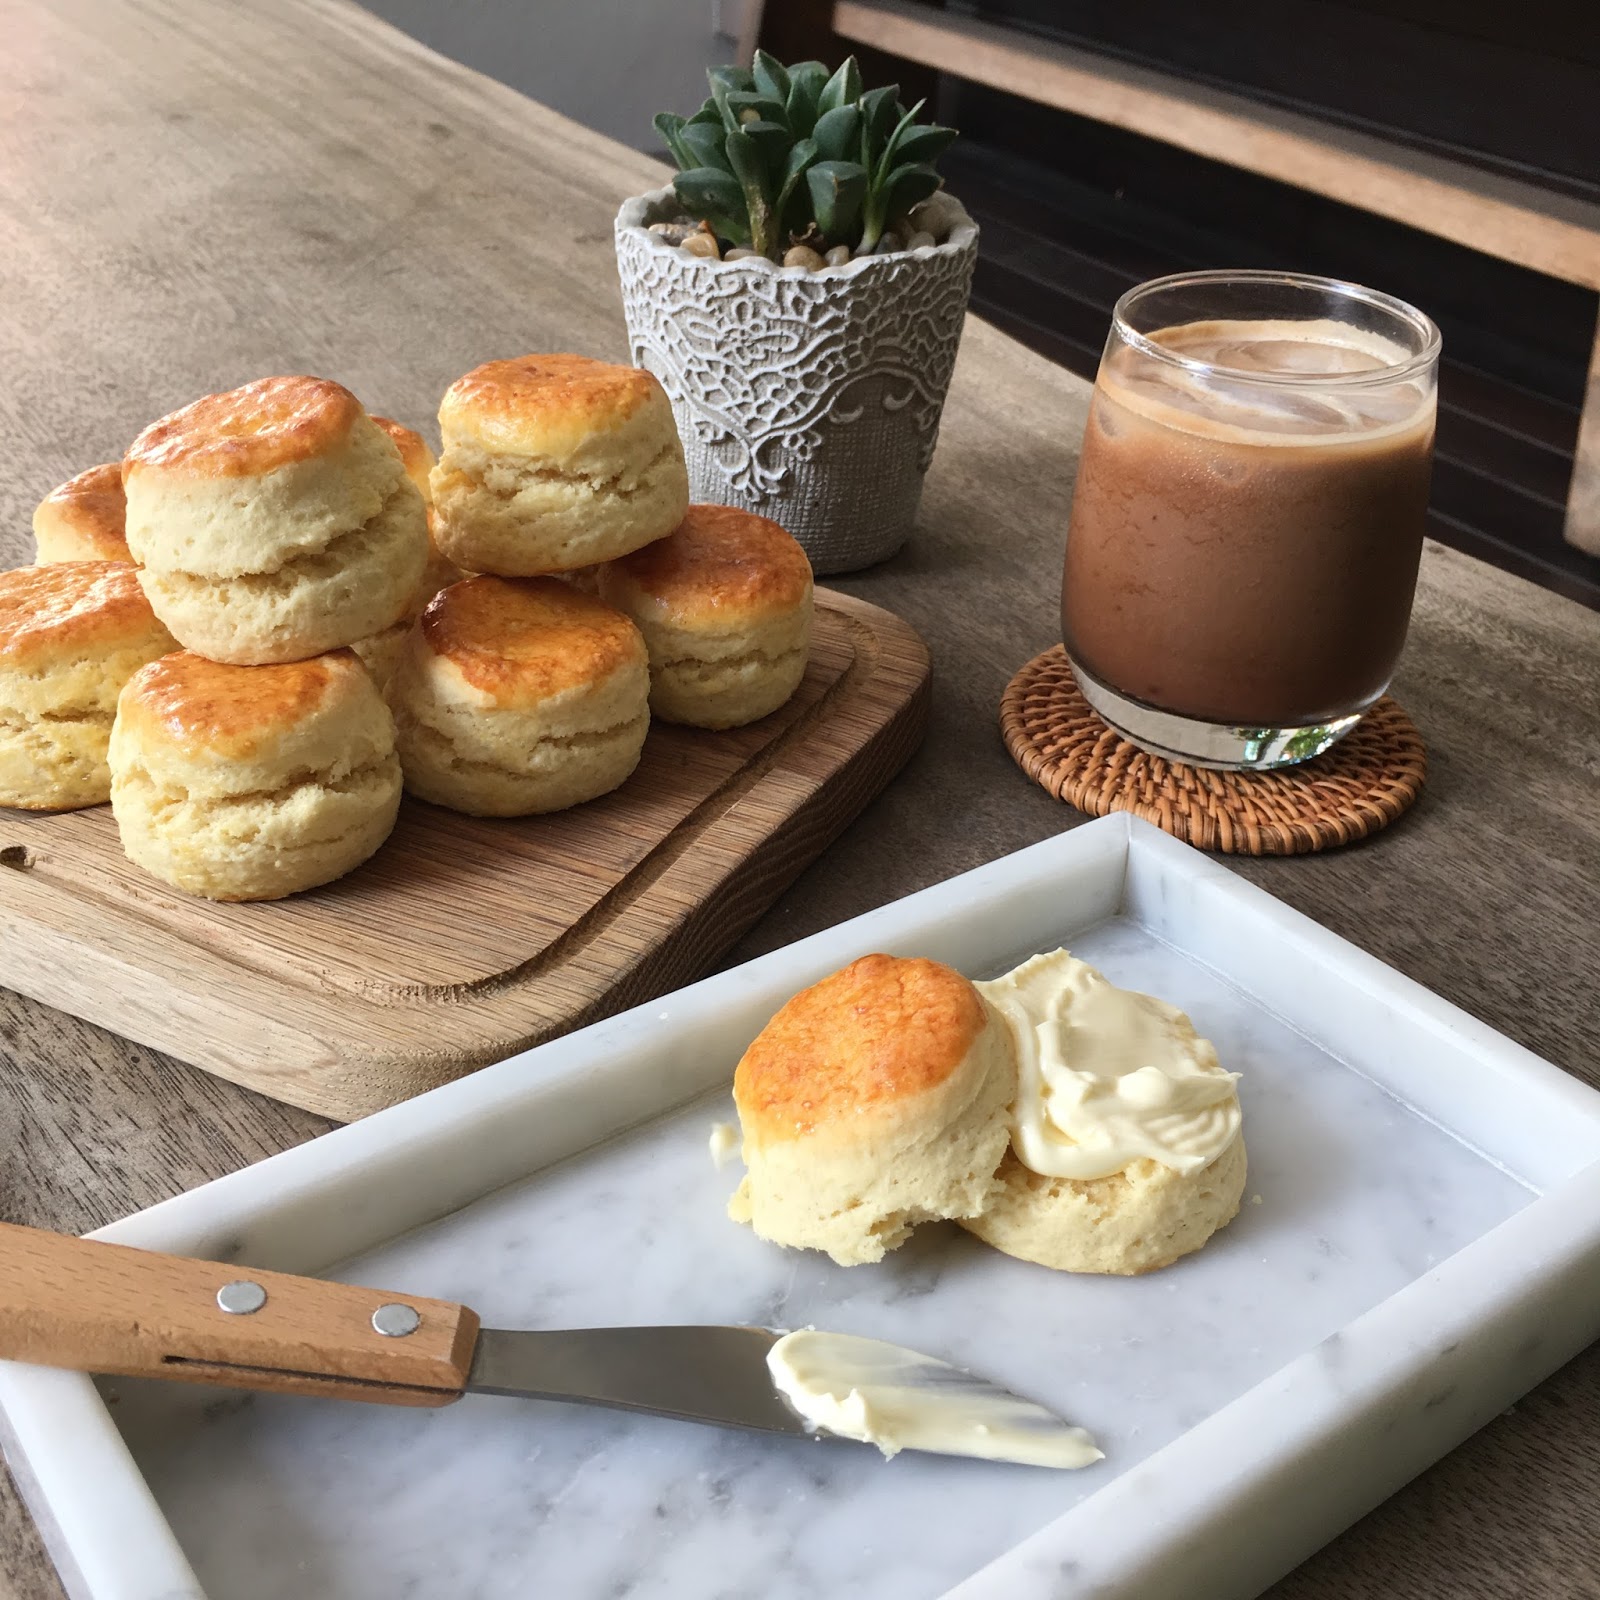 |
| Serve warm with a generous spread of clotted cream |

Can these be frozen and microwaved later? Any tips? THANKS.-- Fan from Bkk
ReplyDeleteHi MM, yes you can freeze half the unbaked scones and bake them for later. Remember to fully allow them to thaw through before baking. For the already baked scones, ideally to just keep them in chiller not more than a week. I would recommend lightly toasting them in the oven instead. Microwaving turns them dry and rubbery. Hope this helps!
ReplyDeleteResearch shows that best brown rice has the highest antioxidant activity of all the varieties, making it a nutritious choice ( 7 ). Antioxidants are compounds that protect cells from damage caused by an excess of molecules called free radicals, which contribute to a condition known as oxidative stress.
ReplyDelete